Packing decisions
How to pack a kitchen without losing track of essentials
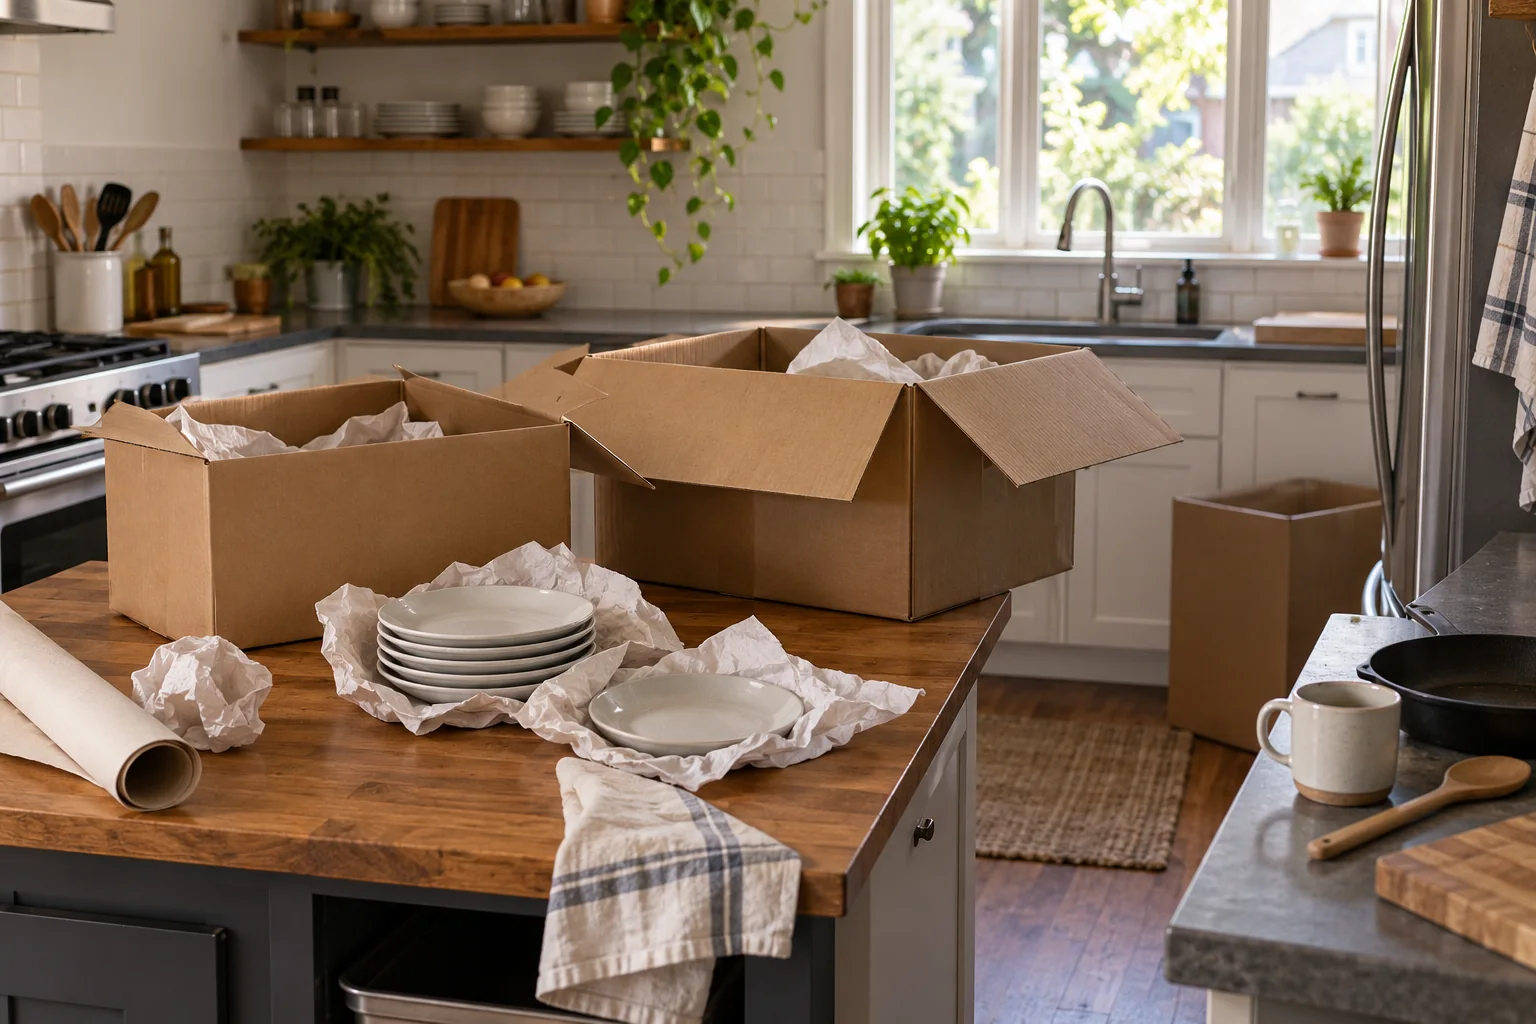
A kitchen is difficult to pack because its contents do different jobs. Some items are fragile, some are heavy, some contain liquids, and a small group must remain usable until you leave. Packing everything by cabinet can make the work feel orderly, but it can also bury the one pan or cup you need on the last evening. Start by separating what you will use before departure, what you will need soon after arrival, and what can remain boxed for several days.
The plan should fit your actual meals, travel, and housing arrangements. If you will stay elsewhere between homes, your immediate kitchen kit may be small. If you will move directly into a new home, it may need enough equipment for a basic meal. Decide this first, then pack the rest of the kitchen around those needs. A written list prevents you from accidentally sealing an essential item in an early carton.
This guide describes a household packing method, not a rule for every carrier or building. Read any moving contract and product instructions that apply to your belongings. A provider may have requirements for food, liquids, appliances, or cartons. Make those limits part of the plan before you spend time wrapping items that will not travel in the expected way.
Make three kitchen groups
The first group is what you will use through the final day in the old home. It might include a kettle, one pan, a cutting board, basic utensils, a plate and cup for each person, dish soap, and a towel. Your list may be different. Put these items in one clearly defined cabinet or tray while the rest of the kitchen is packed. Tell everyone in the household that this group stays available.
The second group is what you need soon after arrival. It may overlap with the first group if you will carry those items yourself. If the first group will travel with the moving load, make sure you can find it at the new home. Label it as a priority box and record its box code. Keep the contents modest enough that unpacking it is easier than searching several cartons.
The third group is everything that can wait. It may include entertaining dishes, duplicate tools, specialty appliances, seasonal bakeware, and extra pantry goods. Pack those items first. This gives you room to work and lets you see whether the immediate kit is missing something before move day.
Do not assume the same three groups apply to food. Perishable or opened food may require a different decision from a metal pan or sealed dry goods. Review it separately and account for travel time, storage conditions, and the carrier's policy.
Inventory by use, not just by cupboard
Open each cabinet and drawer and make short notes about what is there. Group related items: everyday dishes, glassware, cookware, utensils, small appliances, pantry food, cleaning supplies, and rarely used equipment. A cabinet may contain several groups, and a group may be spread across the kitchen. Recording by use helps you decide what to pack together and what to keep accessible.
Notice incomplete sets and duplicates. If a household has three can openers and only needs one, decide whether the others will move. If a rarely used appliance is broken, do not spend wrapping material and box space on it without making a conscious choice. A move is a useful moment to remove items you no longer intend to use, but set a clear deadline so sorting does not prevent packing.
Record items that need special attention. A delicate serving bowl, a cast-iron pan, and a food processor may all be kitchen items, yet they should not be treated as interchangeable box contents. Note awkward dimensions, detachable parts, original packaging you still have, and product manuals that give storage directions.
Keep a count only where it helps. You do not need to inventory every fork to build a usable packing plan. You may want to record a valuable or irreplaceable item individually and photograph its condition before packing. Use your own records and any carrier documentation procedures that apply to the move.
Decide what food will travel
Review the refrigerator, freezer, and pantry early enough to use or give away food you do not intend to move. Plan meals around open ingredients where practical. This reduces the number of containers you must evaluate on packing day. Avoid a last-minute decision to load food without knowing whether it is permitted or how it will be kept at an appropriate temperature.
Check the moving provider's written policy on food. If you are moving yourself, consider the length of travel, vehicle temperature, and when you will be able to unpack. If you need to transport chilled or frozen food, use food-safety guidance relevant to the trip and do not assume a closed box will keep it safe. When uncertain about a perishable item, it may be simpler to use it before the move or replace it afterward.
For pantry goods that will travel, inspect packaging. A nearly empty paper bag, a loose lid, or an opened box can spill. Transfer or contain items only in ways suitable for the food and the journey. Label a box broadly as pantry goods and note any item you will want immediately. Keep foods separate from cleaners and other chemicals.
Do not pack a container merely because it fits. Check whether the carrier prohibits liquids, glass containers, or certain household products. If you are uncertain about an item, ask before loading it. Set aside anything the provider will not carry, and decide whether you will transport it yourself, use it, give it away, or dispose of it properly.
Pack dishes so boxes remain manageable
Choose cartons that are sound and suitable for the weight and shape of the contents. Dense kitchen goods can make a large carton hard to handle before it looks full. Test the weight as you pack. Follow carton ratings and carrier guidance. If a box becomes difficult for the people who will move it, redistribute the contents rather than relying on a “heavy” label.
Protect fragile pieces from contact and movement using materials appropriate to the objects. Wrap or separate dishes and glasses so edges do not strike one another. Fill large empty spaces without forcing pressure onto delicate parts. The exact material may vary: clean packing paper, dividers, or protective sleeves can work when used correctly. Avoid treating a layer of material as a guarantee against breakage.
Place sturdier or heavier items where they do not crush lighter ones. Keep a box's center of weight stable enough to lift. Close and gently check whether contents shift. If they do, adjust the packing before sealing the carton. A tightly closed box that still allows dishes to collide has not solved the main problem.
Use small, specific categories on the outside: “everyday plates,” “glassware,” or “baking dishes.” Keep a private list of any item you need to find quickly. Mark handling instructions that truly apply, and write the new-home destination on more than one visible side. Do not put the exact value of a prized item on a public-facing label.
Keep appliance parts together
For each small appliance, identify its detachable pieces, cords, trays, and instructions. An appliance that arrives without a critical part may be unusable until a later carton is opened. Put loose pieces in a suitable small bag or container, label it with the appliance name, and secure it in a way that cannot scratch or stress the appliance. Follow the manufacturer instructions for removal and packing where available.
Clean and dry appliances before packing. Check product guidance for any additional preparation. A coffee maker, blender, toaster, and mixer have different components and may have different handling needs. Do not assume the same procedure applies to every machine. If the original box and fitted packing material are still in good condition, consider whether they provide a useful fit; otherwise use a suitable alternative.
Photograph a cable arrangement or part placement if reassembly is not obvious. The photo should help you restore the appliance, not substitute for product instructions. Put the relevant photo or note in your private inventory. If one box contains multiple appliances, list them so the contents do not disappear into a vague “kitchen electronics” category.
Decide whether an appliance belongs in the early-use group before sealing it. If breakfast depends on a particular device, either keep it available until the final day and pack it last or plan another meal. The moving plan should support ordinary life during the transition, not require every routine to stop early.
Give sharp and awkward items a separate plan
Knives and other sharp tools need protection that keeps edges from contacting hands or cutting through packing material. Use suitable guards, holders, or other protective methods consistent with the item and carrier instructions. Do not leave a loose blade in a mixed utensil carton. Label the box so someone opening it knows to handle the contents carefully, without advertising details unnecessarily.
Long utensils, baking sheets, and odd-shaped equipment may not fit standard cartons. Measure and test before committing to a packing method. Keep small parts with the associated item. Do not let a long handle push against the side of a weak carton where it may break through during movement.
Heavy cookware deserves attention even when it is not fragile. A stack of metal pans can overload a carton or shift when lifted. Use a box size and packing method that keeps the load stable and manageable. Protect finishes or coatings according to the product guidance. Record which carton contains the everyday pan if you will need it promptly after arrival.
If an item cannot be packed safely with the supplies you have, stop and choose another method. Additional wrapping, a different carton, or help from the transport provider may be appropriate. An improvised box that cannot close securely creates work and risk later in the move.
Build one arrival kitchen kit
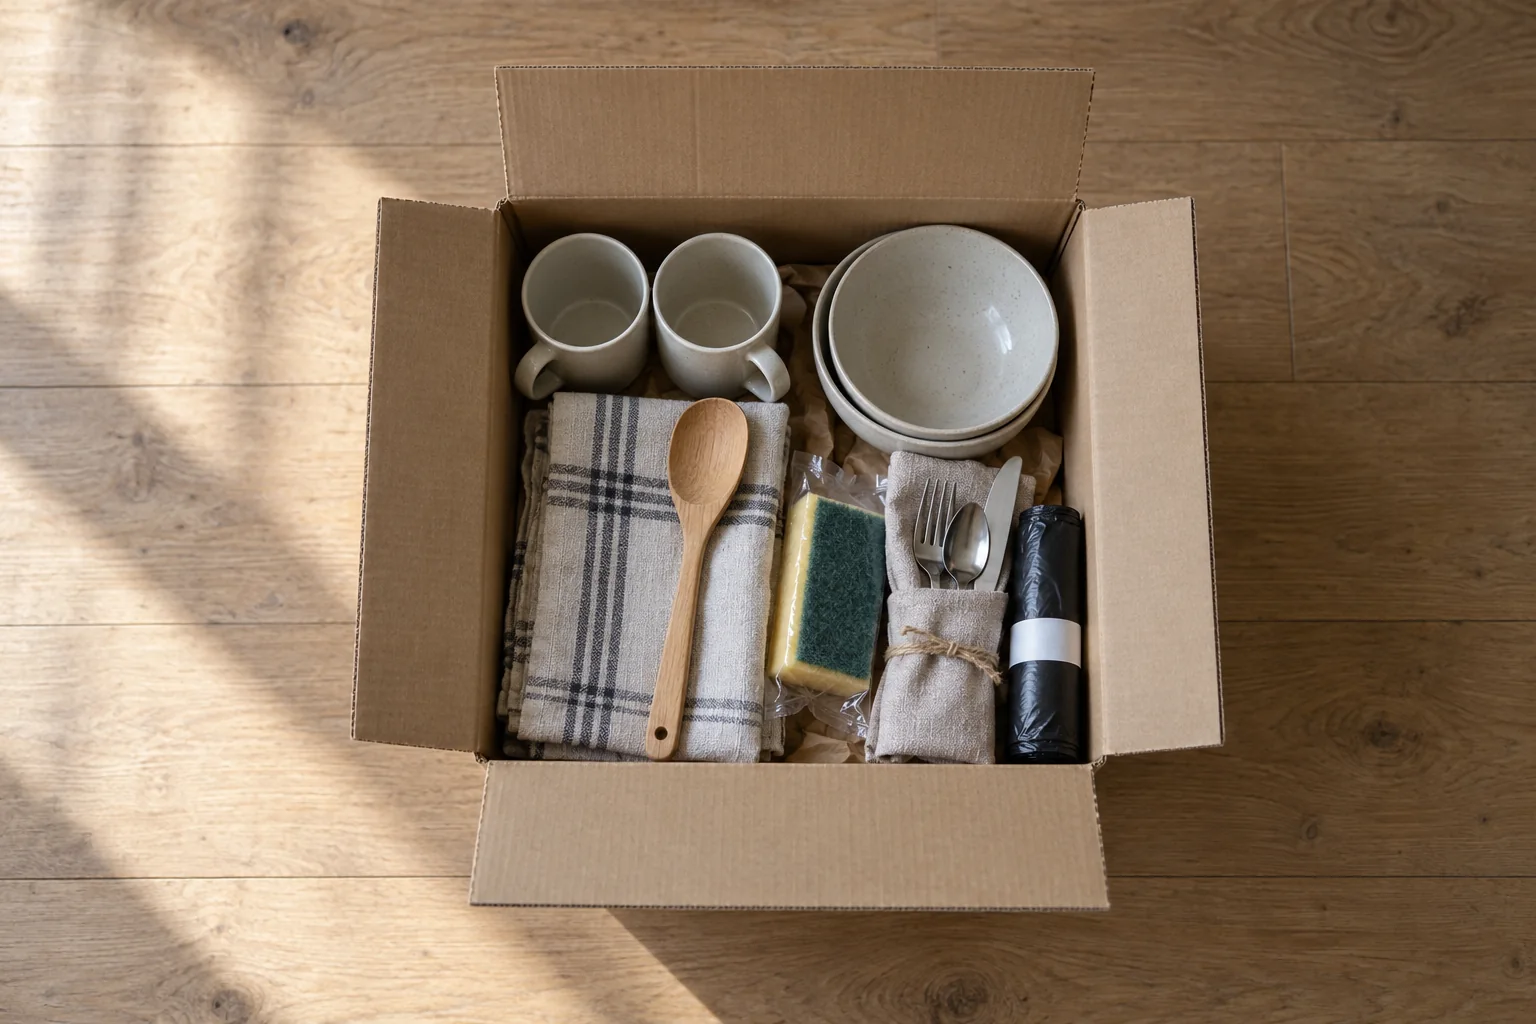
Make a short list of the tasks you expect to do in the new kitchen during the first day. Drinking water, making a simple meal, washing a few dishes, and cleaning a counter may be enough. Choose the tools and supplies that support those tasks. The list might include cups, a basic utensil set, one pan, a towel, dish soap, a sponge, trash bags, and any food you have planned to bring or buy.
Choose one clearly marked container for the kit. Do not fill it with unrelated objects just because space remains. If you will carry it personally, keep the load manageable and compatible with your travel plan. If it will go with the moving load, give it an unambiguous destination and priority label, and confirm that it can be accessed soon after delivery.
Put a simple contents list on your private packing record. This avoids buying replacements because you cannot remember whether you packed them. If you expect to make a specific meal, think through all the steps. A pan without a spatula or a kettle without a cup may not be enough. The kit should reflect actual use, not a generic packing checklist.
Keep the arrival kit separate from documents, medicines, and other items that need their own travel plan. A kitchen box may be handled differently from personal essentials. Coordinate it with the household's broader first-day plan rather than assuming one “essentials” carton will meet every need.
Label cartons for the new kitchen
Destination labels should use the room names that will appear in the new home. If the pantry is a separate room or a different floor, decide whether pantry boxes should go directly there. Use a consistent code such as K-01, K-02, and so on, and add a broad contents description to each carton. A private inventory can hold more detail.
Mark the arrival kit or last-use box with a distinct priority note. Use that note sparingly. If every kitchen box says “open first,” the label gives the unloader no useful distinction. Record the priority box codes in one place and check that those boxes are present at delivery.
Use more than one side of each carton for the destination and code. Boxes stacked in a vehicle or against a wall may hide a single label. Avoid writing important information over a seam that may be cut when the box is opened. If an old carton carries previous labels, cover or remove them to prevent routing mistakes.
Keep the kitchen box list in the same household inventory used for other rooms. If a work computer or network device is also being packed, the guide to planning the move of a home office shows how to record related cables and keep essential equipment available. Use the same box-code format so the person unloading can find both kitchen and work items.
Schedule the last working kitchen day
Choose a point after which you will stop relying on the full kitchen. The timing depends on travel and whether you will eat at home the final evening. Once you have chosen it, pack the remaining nonessential contents and leave only the agreed last-use group accessible. People sharing the kitchen should know what remains available.
Plan for cleanup. You may need a cloth, cleaner suitable for the surfaces, a trash bag, and a way to wash or dispose of the last dishes. Put those supplies on the final-day list. Check the building's requirements for leaving the space. Do not seal cleaning materials in a carton that will be loaded before the kitchen is finished.
If the refrigerator or freezer will remain with the property, follow the relevant appliance and property instructions for emptying and cleaning it. If an appliance will move, use its manufacturer guidance and the carrier's requirements for preparing and transporting it. Avoid inventing a one-size-fits-all timing rule for every model and move.
The last-use group should be packed only when the household is done with it. Before sealing, check every counter, cupboard, dishwasher, and utility area for small pieces. Look for appliance attachments and the utensil that was left out for breakfast. Write the final carton code on the inventory immediately.
Reconcile at the new home
At delivery, compare the kitchen carton codes with the list. Place the arrival kit where it can be opened without shifting a pile of other boxes. The first task is to make the new kitchen usable, not to empty every carton. Clear a safe work surface, confirm the utilities and appliances you plan to use are ready under their instructions, and open the smallest useful set of boxes.
Unpack by function. Everyday dishes and cookware may come before specialty equipment. Pantry goods need appropriate storage, and anything requiring temperature control should be handled according to its actual conditions and applicable food-safety guidance. Keep protective material and cartons out of pathways as you work.
If a box is missing from the kitchen, check its code against the delivery record and search nearby zones. It may have been placed in a dining area or sorting space. Record any actual shortage or damage promptly and follow the carrier's process when a provider handled the shipment. A private inventory and box codes make this check much easier than relying on memory.
As each box is emptied, mark it on the list. Keep small appliance pieces with their machines during setup. If furniture or large equipment needs to be placed before kitchen storage can be arranged, coordinate that work with how to prepare furniture for a move, especially where access to cabinets and counters depends on the order of unloading.
A kitchen can be packed in stages without losing daily function. Decide what must stay in use, give the arrival kit a specific purpose, and box the rest by function with clear codes. The practical test is simple: at each stage, you should know where the items you need next are located and how you will get to them.